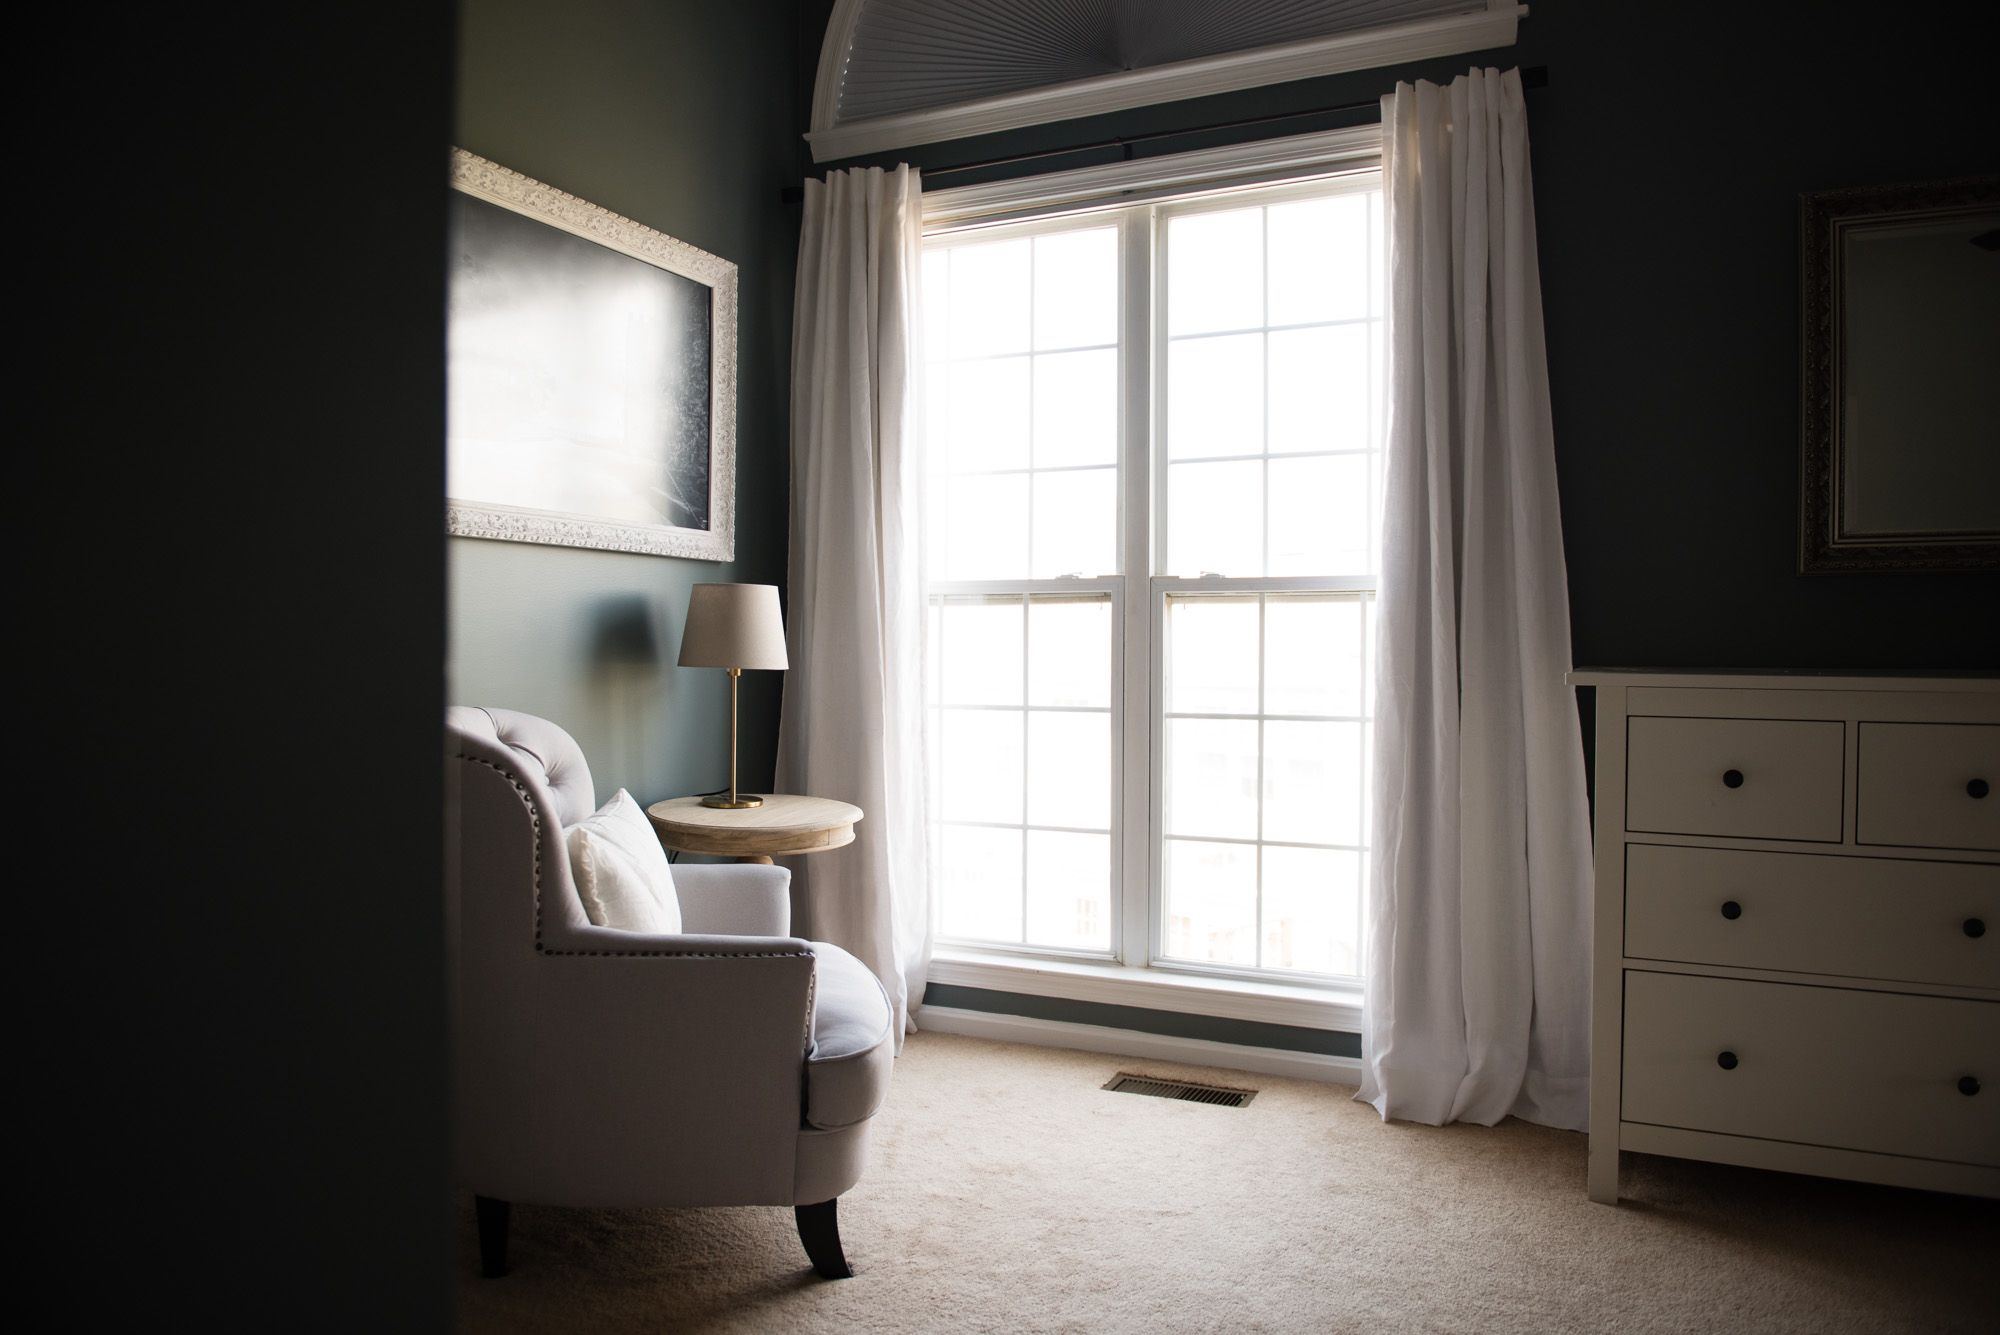
Continuing with the theme of the ‘behind the scenes’ peek into my editing process, here is a 6.5 minute video of 1 image, start to finish in Lightroom. The video includes a pullback, the SOOC image and my full editing steps. Scroll down below the video if you’d prefer to pick up some quick tips via reading.
1 Image Start to Finish in Lightroom | Quick Tips
1- I start at the top of the Lighroom panels and work my way down, to edit. If white balance needs the most adjustment on a given image, I’ll start there, if exposure is most off I’ll start with exposure.
2- Consider adjusting tonal values locally (with the adjustment brush), rather than globally (with sliders or the Tone Curve) if the tonal value you are targeting is represented in multiple areas of the frame. For example, it can create a more dynamic frame if very deep shadows are maintained in some areas of the frame while you bring them up in one targeted area, in order to reveal detail.
3- Be careful with Clarity on skin. It is easy to be too heavy handed and push skin past the point of looking natural and touchable.
4- Press and hold “Alt,” then click with your mouse/track pad on the Masking slider under the Sharpening portion of the Detail panel to see how much sharpening Lightroom is applying to your image. White indicates sharpened pixels.
5- If Lightroom suggest a crazy adjustment (such as when working with the Transform panel, or Cloning) don’t hesitate to reject the adjustment and instead adjust manually until the image looks best to your eye.
6- Most of my images receive a very subtle vignette (Amount -5 to -15, all other sliders usually left at default) in order to help ‘corral’ the viewer’s eye within the frame.
Pullback:

SOOC:

of

If you have questions about Lightroom, how I edit, or my thought process please let me know in the comments!
-M
Pin It