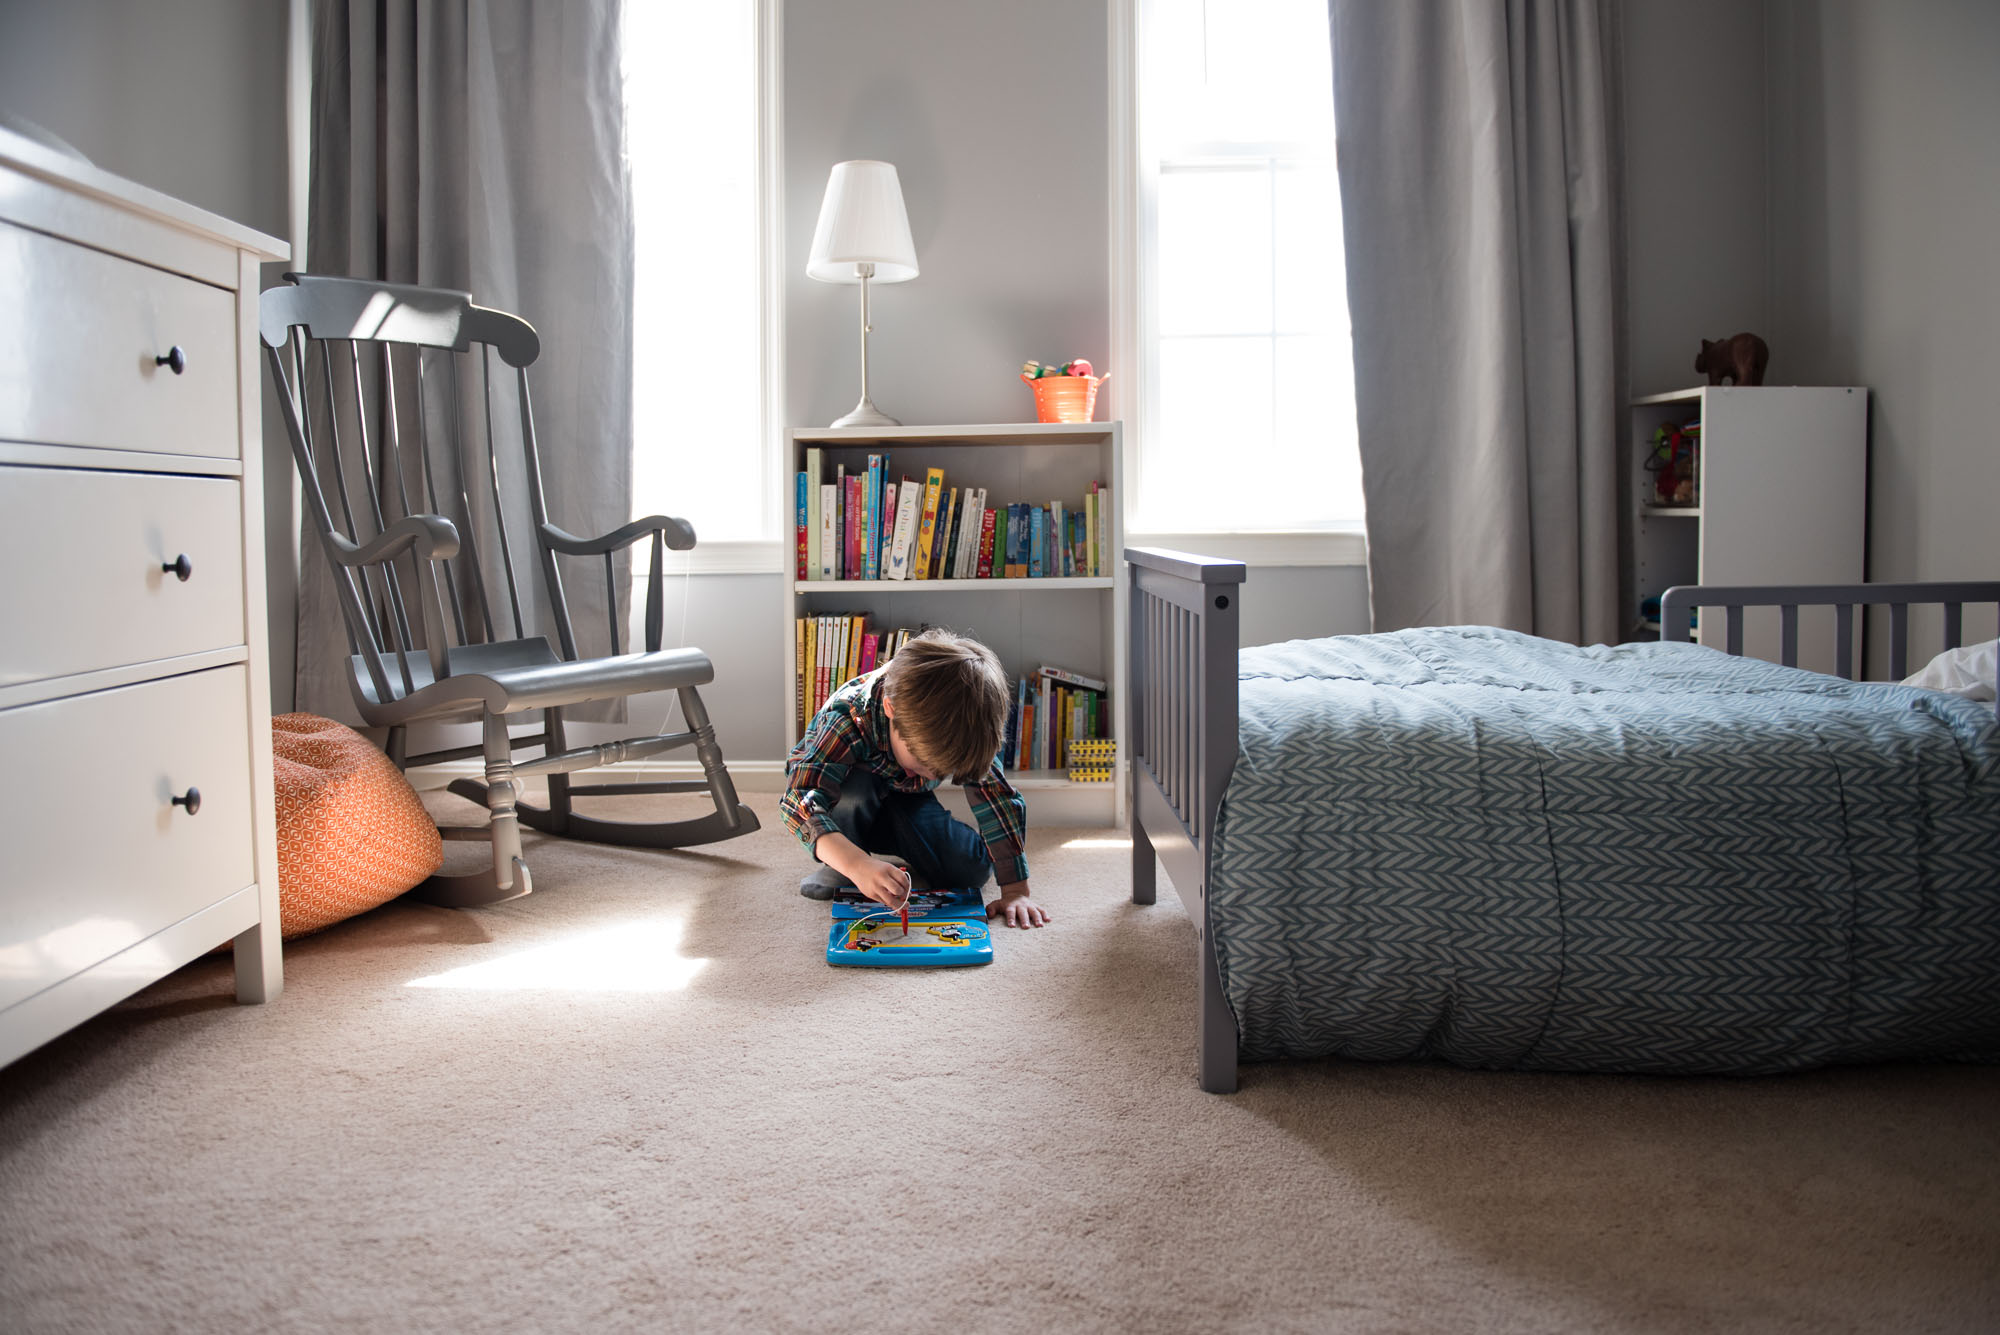
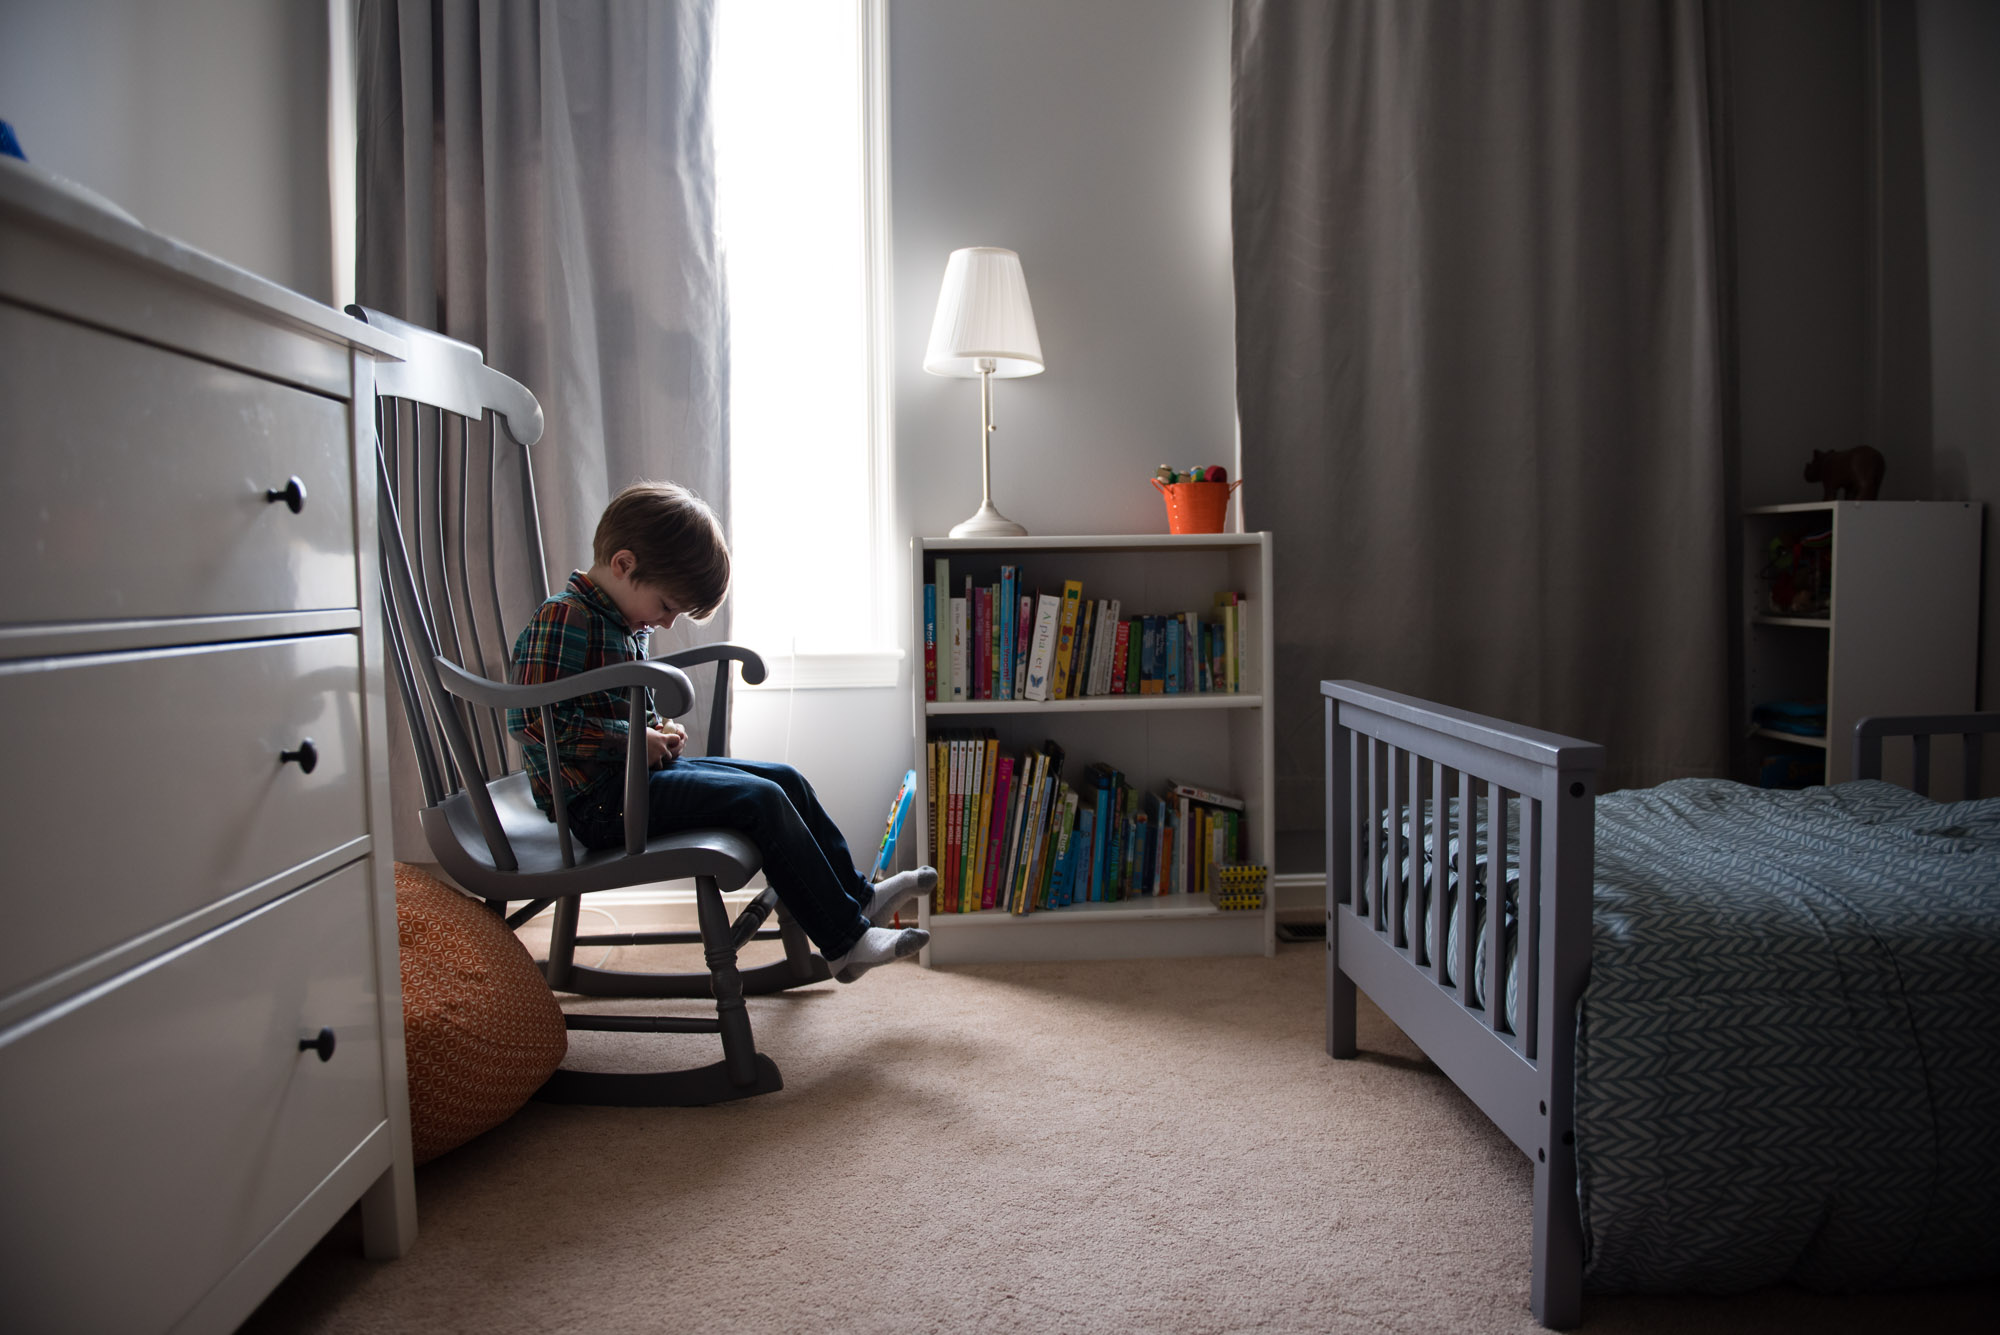
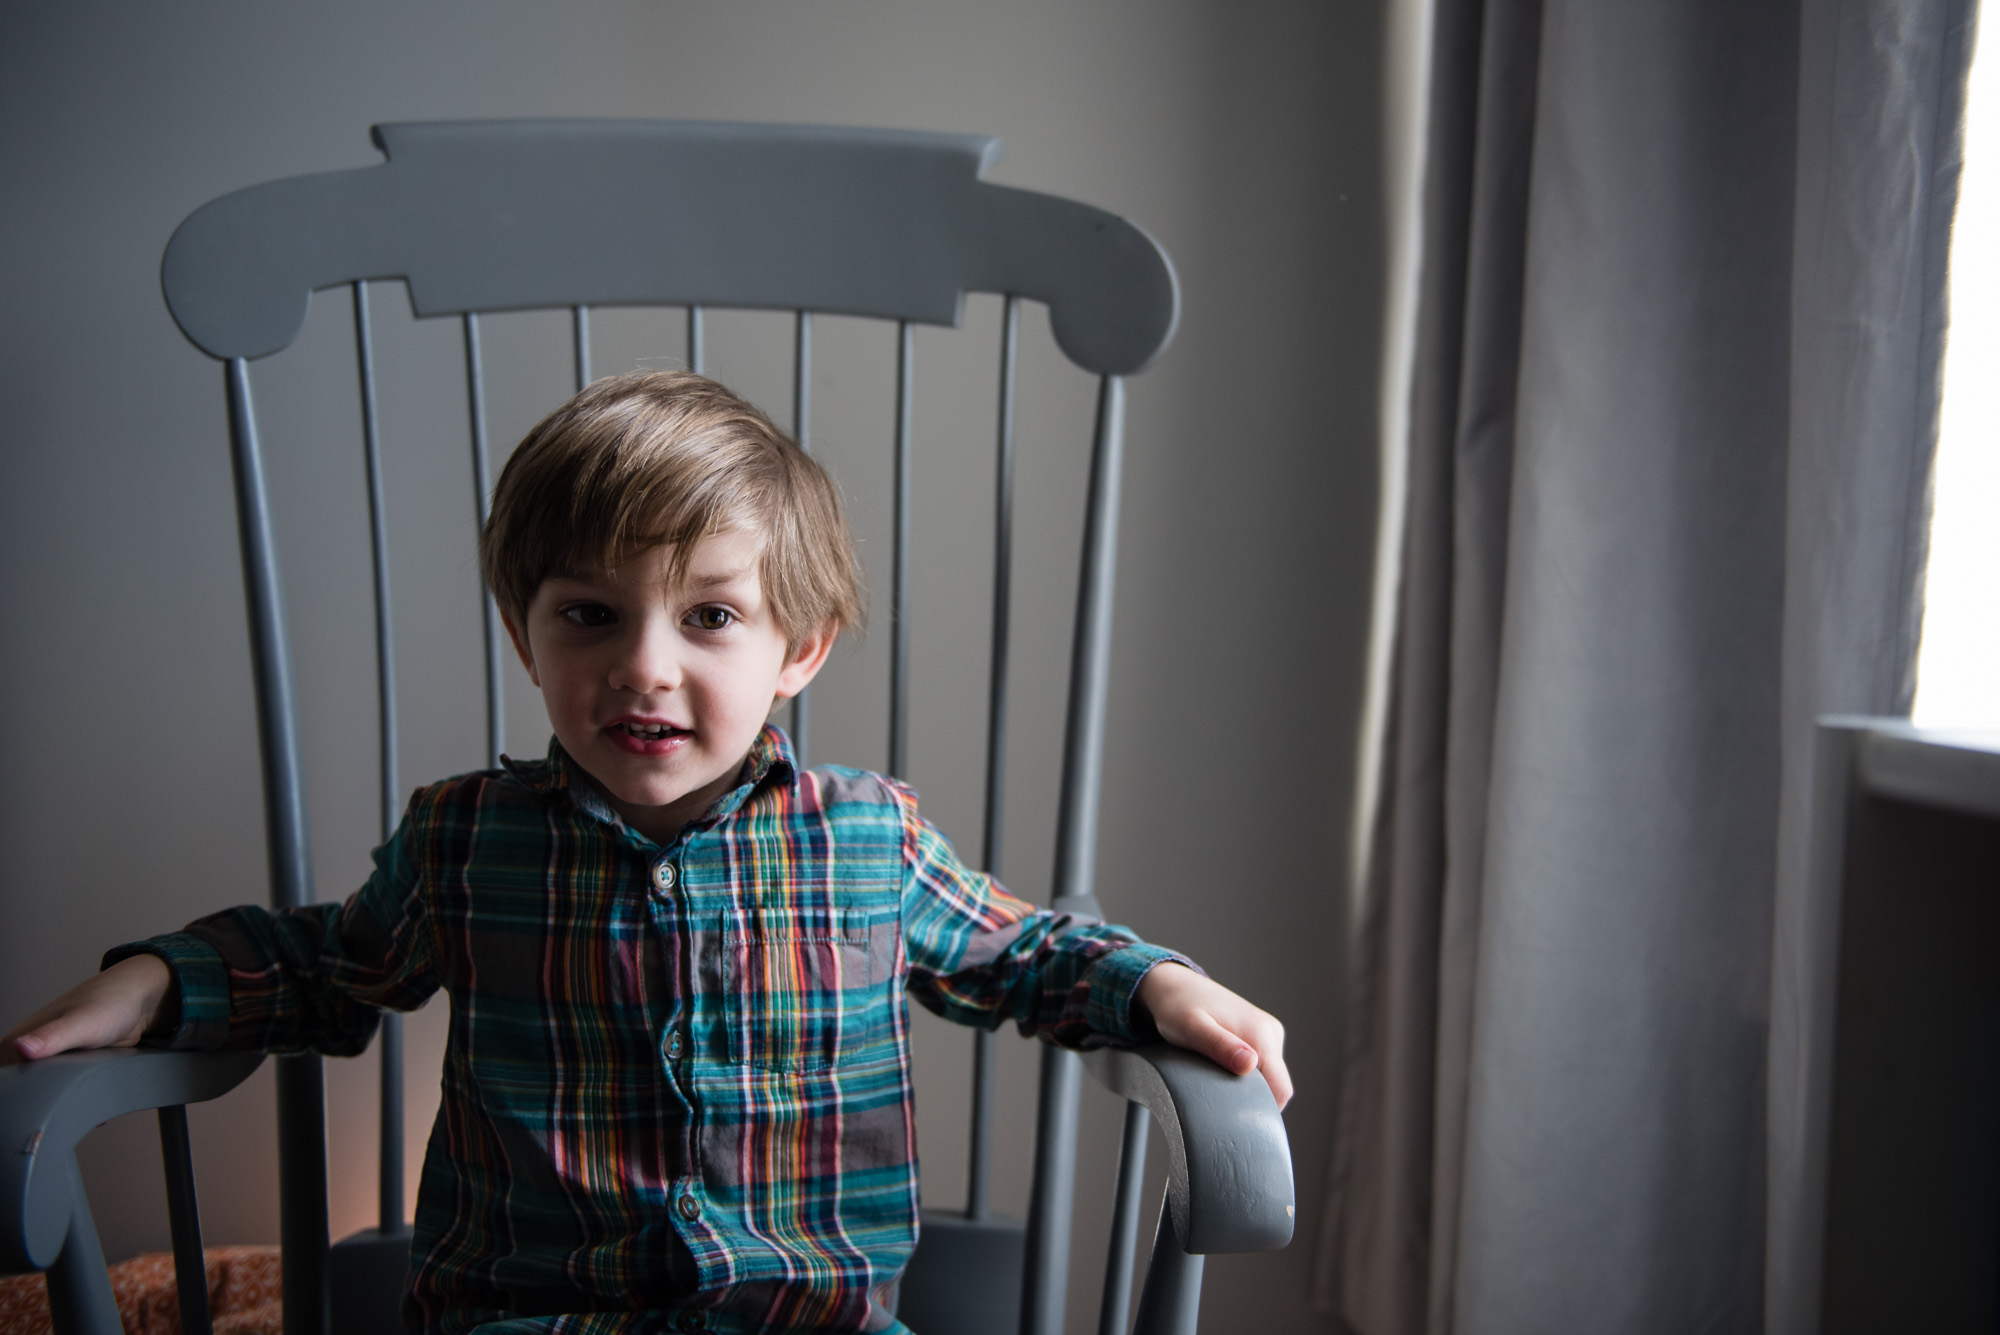
Light is almost everything in photography. Literally, photography means “light writing,” but more applicable to the act of creating imagery is the fact that studying and understanding light will immediately increase your skill as a photographer. One easy to grasp distinction to understand is the difference between directional and flat light. Purposefully choosing which type to choose for a planned photograph- directional or flat light- will enable you to create cohesive and communicative imagery.
Flat Light
Light is flat when the subject is either directly facing the light source, or completely surrounded by the light source (such as when a subject is standing in the middle of an open field under a cloudless or uniformly overcast sky). In my example, the subject is facing a window, thus the light is mostly flat, but the size of the window does constrain light from entirely facing the space.
Flat light creates uniform illumination across the subject and over much of the scene. This lack of shadow can create a certain lack of dimension and depth. However, without strong shadows a scene reads as uniformly important, so flat light can be a good choice when wanting to include the environment as an important secondary subject, or when lighting a large number of people who are all equally important within the frame. Flat light is also easy to meter (due to the very small difference in value between highlight and shadow tones) and generally creates lovely big catchlights in eyes, as subjects are looking towards the light source.


Directional Light
There are many variations of directional light, but as a very general definition, you are photographing with directional light if your subject is placed at an angle towards the light source. In the example images, my subject is placed with the plane across his shoulders between 45 and 90 degrees towards the window. Remember that you’ll need to have your subject’s eyes facing somewhat towards the light source in order to create catchlights. If you plan to photograph your subject with their face turned away from the light source you’ll either need to plan for a secondary light source to create catchlights, or compose the frame/pose the subject so that the lack of catchlights will not be distracting to your viewer.
The placement of the subject’s face and body at an angle towards the light means that the part of their body closest to the light will be more strongly illuminated, while the further part will be less illuminated. Resulting from this discrepancy is a varied range of tonal values across the subject, from very bright highlights to deep shadows. This tonal contrast makes a frame feel dimensional and ‘touchable,’ which is often a wonderful choice for classic portraiture, still life, macro or fine art imagery. Directional light requires careful metering, as you will need to balance maintaining highlight and shadow tones which reach towards opposite ends of the histogram.


Directional or Flight Light?
Is one type, directional or flat light, better? Not in my opinion. Each type of light has its strengths and weaknesses. When planning an image, consider the purpose of the photograph and the mood you wish to convey. From there, decide which type of light will more fully support your vision and then remember that adjustments to light during a shoot are completely acceptable. Make the light work for you!
Find another tutorial about light, here.
What is your favorite type of light? Let me know in the comment section, below.
-M
Pin It